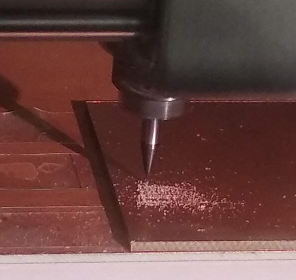
First I worked with the 1/64 wndmill to ensure the png got milled onto the board.

1/64 endmill was screwed into the SRM20 machine. Then I asked the computer connected to the SRM20 to 'listen' to eachother

Once the websocket device module was open and communication betweem the two machines was underway, I could begin to pay around with the values of XYZ - which are the locations for printing on the board.

Once the 1/64 end had been moved (move to origin) to the exact sspot where the printing would place, the needle had to be adjusted and rescrewed so that it could touch the printing surface.
The cut depth and Max depth was set at .004 and .008 respectively. At this point pressing Mill Traces is probably the most important thing since it actually logs the .004 and .008 and prints in accordance to that. The first time I printed I entirely forgot to press Mill Traces and was hence left with something like this:


It took me a while to figure out what I did wrong but was soon able to fix it.


Milling the outline was a similar process excpet this time the image to mill was:
 Finally!

Now it was time to solder on.
My first attempt at soldering was a total failure: not only did i solder the wrong parts in the wrong place, I was fairly sloppy too. In the image below, led rights are soldered on in the wrong direction and 499ohm resistor is missing + everything is wobbly

but i was able to fix all of that in the next chip i made

Onto programming now!